centos6安装vncserver实现图形化访问

稍后配图

文字转自阿里云:http://help.aliyun.com/origin?spm=0.0.0.0.sx7nYR&helpId=1421

一.配置163的yum源

1.导入CentOS-6的GPG证书

#rpm –import http://mirrors.163.com/centos/RPM-GPG-KEY-CentOS-6

2.让yum使用网易的源:

#cd /etc/yum.repos.d/

#wget http://mirrors.163.com/.help/CentOS-Base-163.repo

3.修改repo文件

在所有mirrorlist前面加上#,把所有$releasever替换成6,保存

#sed -i ‘/mirrorlist/d’ CentOS-Base-163.repo

#sed -i ‘/\[addons\]/,/^$/d’ CentOS-Base-163.repo

#sed -i ‘s/\$releasever/6/‘ CentOS-Base-163.repo

#sed -i ‘s/RPM-GPG-KEY-CentOS-5/RPM-GPG-KEY-CentOS-6/‘ CentOS-Base-163.repo

4.清理并重新生成yum缓存

#yum clean metadata

#yum makecache

二.安装gnome图形化桌面

#yum groupinstall -y “X Window System”

#yum groupinstall -y “Desktop”

#yum groupinstall -y “Chinese Support”

三.安装vncserver并配置

1.安装vncserver

#yum install -y tigervnc-server

2.配置vncserver

1).配置为开机自启动

#chkconfig –level 345 vncserver on

2).配置vnc密码

#vncserver

You will require a password to access your desktop.

Password:

Verify:

3).配置为使用gnome桌面

修改 /root/.vnc/xstartup文件,把最后的 twm & 删掉 加上 gnome-session &。

4).配置vncserver启动后监听端口和环境参数

修改/etc/sysconfig/vncservers 文件添加以下内容

VNCSERVERS=”1:root”

# 桌面号:用户    监听 590* 端口

VNCSERVERARGS[1]=”-geometry 1200x800”

5).重启vncserver服务

#service vncserver restart

四.允许root访问图形界面和生成新的machine-id

#sed -i ‘s/.*!= root.*/#&/‘ /etc/pam.d/gdm

#dbus-uuidgen >/var/lib/dbus/machine-id

五.关闭selinux和NetworkManager服务

1.检查selinux服务并关闭

#vi /etc/selinux/config

确认里面的SELINUX字段的值是disabled,如果不是则改为disabled。

2.关闭NetworkManager服务

#chkconfig –del NetworkManager

六.测试登录:
RedHat Enterprise Linux 5系列安装VNC

转自阿里云:http://help.aliyun.com/origin?spm=0.0.0.0.zL6CID&helpId=1151

1.执行yum -y install vnc-server无法安装,一般都是源的问题,需要更新yum源,操作如下:

导入CentOS-5的GPG证书

#rpm –import http://mirrors.163.com/centos/RPM-GPG-KEY-CentOS-5

让yum使用网易的源:

#cd /etc/yum.repos.d/

#wget http://mirrors.163.com/.help/CentOS-Base-163.repo

修改repo文件

在所有mirrorlist前面加上#,把所有$releasever替换成5,保存

#sed -i ‘/mirrorlist/d’ CentOS-Base-163.repo

#sed -i ‘s/\$releasever/5/‘ CentOS-Base-163.repo

清理并重新生成yum缓存

#yum clean metadata

#yum makecache

执行完成以后重新yum -y install vnc-server 就可以。

2.执行yum groupinstall “GNOME Desktop Environment” 命令下载安装包以后会出现如下提示,那是因为redhat-logos软件包已经存在,导致冲突

27_253667_9b72f714d42e2262

执行rpm –qa grep redhat命令查看软件包版本,此版本不一定跟图片中的版本一样,卸载的时候请根据查看到的实际版本卸载

27_253667_2b08141985d12751

然后使用yum remove 命令将查看到的软件包版本卸载掉

yum remove redhat-logos-4.9.16-1

27_253667_9b72f714d42e2263

最后重新执行yum groupinstall “GNOME Desktop Environment”

yum程序会自动下载新的redhat-logos并安装gnome程序

程序安装完成以后就可以通过VNC登入!

centos 配置 ssh

3.重启ssh

[root@localhost ~]# /etc/rc.d/init.d/sshd restart 停止 sshd:                                                [  确定  ] 启动 sshd                                                  [  确定  ]

1.在hosts.deny文件尾添加sshd:ALL 意思是拒绝所有访问请求

[root@localhost ~]# vi /etc/hosts.deny

修改后看起来如下:

# # hosts.deny    This file describes the names of the hosts which are #               *not* allowed to use the local INET services, as decided #               by the ‘/usr/sbin/tcpd’ server. # # The portmap line is redundant, but it is left to remind you that # the new secure portmap uses hosts.deny and hosts.allow.  In particular # you should know that NFS uses portmap! sshd:ALL

2.在hosts.allow文件尾添加sshd:192.168.0. 意思是允许192.168.0.1 到254的主机,内网。

[root@localhost ~]# vi /etc/hosts.allow # # hosts.allow   This file describes the names of the hosts which are #               allowed to use the local INET services, as decided #               by the ‘/usr/sbin/tcpd’ server. # sshd:192.168.0.

Offline NT 清除系统密码教程

启动后将看到如上图所示的画面,直接回车即可

38dbb6fd5266d0163eb20d8f972bd40734fa35e9

2.选择启动分区,一般看到选看到后面有BOOT的,如上图,输入1 回车

622762d0f703918f287bae6d513d269758eec4eb

3.输入windows注册表路径,一般都输入Windows/system32/config 回车

f9dcd100baa1cd116d12e187b912c8fcc2ce2df4

这里输入1,回车

023b5bb5c9ea15ce847173aeb6003af33b87b2fe

再输入1 回车

77094b36acaf2edd727eda4e8d1001e93801938e

输入要清除密码的用户名,例如左图,输入Administrator 回车

bd3eb13533fa828bacaa0e44fd1f4134960a5a8f

看到password cleared就是成功了,在这里还没有保存设置。 一定要输入叹号,回车。回到下图所示界面 输入q 回车

9e3df8dcd100baa1d3a4d41c4710b912c9fc2e88

37d12f2eb9389b50910873f58535e5dde6116ea6

保存设置:输入y 回车 之后重新启动电脑即可

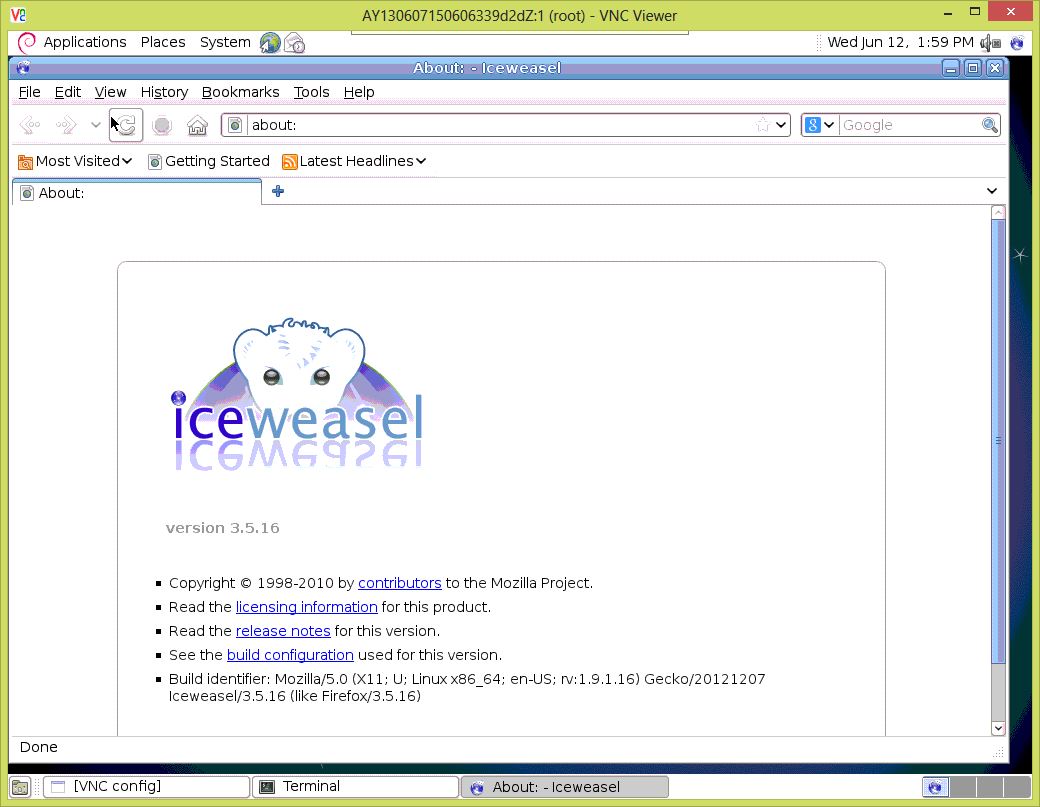
Debian Linux下安装FireFox(Iceweasel)

一直奇怪为什么Debian环境下没有FireFox,后来才知道原来由于商标原因Debian重新编译了FireFox并改名为Iceweasel。可以这么说Iceweasel也就是FireFox,同样的FF的插件扩展什么的Iceweasel也应该可以用。

安装Iceweasel可以通过下面的命令:

aptitude install iceweasel

在某些环境下Iceweasel浏览器的User Agent String可能不包含FireFox字样,这点是需要Web开发者注意的。

ice

Debian 安装VNC

Debian VNC 安装与配置

1. 在Debian安装VNC服务

sudo apt-get install vnc4server

vncserver

第一次启动会提示输入密码。

Password:

Verify:

然后执行

vncserver -kill :1

现在装好了vnc server,我们还的配置一下vnc默认以gnome启动

vi ~/.vnc/xstartup

 末尾加入

gnome-session &

保存退出

如果是想以kde启动,则加上 startkde &

在输入vncserver启动远程桌面就可以啦

Ubuntu下VNC远程桌面配置

1. 安装gonme核心包(如果是字符界面的话) apt-get install x-window-system-core apt-get install gnome-core (下载完成后需要安装dgm,不能选择lightdgm,不然重启以后不能登陆桌面了) apt-get install metacity apt-get install gnome-desktop-environment    (optional)

2.安装vnc4server apt-get install vnc4server

3.设置vncserver密码

# vncpasswd

Password: ******

Verify:*****

4.启动VNC server

# vncserver # vncserver -kill :1   (:1表示5901端口)

5.修改~/.vnc/xstartup文件

#!/bin/sh

# Uncomment the following two lines for normal desktop:

#unset SESSION_MANAGER

#exec /etc/X11/xinit/xinitrc

[ -x /etc/vnc/xstartup ] && exec /etc/vnc/xstartup

[ -r $HOME/.Xresources ] && xrdb $HOME/.Xresources

xsetroot -solid grey

vncconfig -iconic &

xterm -geometry 80x24+10+10 -ls -title “$VNCDESKTOP Desktop” &

#twm &

gnome-session-fallback &

参考:

1. http://hi.baidu.com/yysirius/blog/item/2e5e0d085e84dfd562d986fe.html

2. http://www.blogjava.net/void241/archive/2008/07/19/216005.html